|
| Pick a selection of pinks and reds | | |
Okay, I start this project with a selection of my favorite pinks and reds. Not a hard thing to do since my fabric stash weighs heavily to the red colorway. Doesn't take much, about 9, 4" squares.
 |
| Typography tracing |
Next I head over to the computer and print off a capital X, O, and a heart. The font is Rockwell bold and the heart is from some clip art on my computer. Dingbats usually have a heart or trace a cookie cutter. Trace the letters on to Reynold's freezer paper on the dull side using a permanent Sharpie marker. You will need 4 X's, 4 O's, and one heart. I sized them to be about 3 inches tall.
Roughly cut out the freezer paper shapes apart and iron onto the right side of the chosen fabric. Use a hot and dry iron with no steam. Cut a piece of fusible web slightly smaller than fabric and iron onto backside according to manufacturer's directions. Heat and Bond Lite works great for this type of raw edge applique.
 |
| The cutting process |
Now you are ready to cut out your letters and heart. Always use sharp scissors and come up from the bottom. Especially when you cut the interior of the O. You will find you have much better contriol and the freezer paper gives the fabric stability.
 |
| And then the ironing |
|
|
For the base of my pillow I used a home decor fabric that kind of looks like burlap, but is way softer and way, way less stinky. My pillow is 16" x 16", so the square on the front is exactly that size. I started by finding the center and marking it with a small crease, then I iron on the O in the center. Next, I finish the middle row by ironing on the Xs on either side. Then do each row, above and below, the middle. Make sure you like spacing before you iron! there is no turning back.
 |
| All in place and ready for stitching fun |
Now for the stitching, I use a machine quilting foot that just hovers over the fabric. I drop the feed dog so that I am controlling the fabrics movement. I also use my linebacker gloves. Just kidding! That's what my husband calls them, but they are Fons and Porter quilting gloves that have rubber dots that help you grip the fabric. It doesn't hurt that they are red! I also use a needle down position so that when I stop the needle will hold my position. And just begin to outline each letter. Get a little loose and free! It is a lot like doodling and loosely tracing around the letters. You do not want it perfect. I repeat, YOU DO NOT WANT IT PERFECT. That being said, you can always practice on some cheap muslin or ugly fabric in your stash. I usually go around the letters two or three times.
 |
| This is the backside. You can see how "sketchy" it is. |
 |
| Backside pieces |
The next step it to cut two 16" x 11" cotton rectangles for the back side. These will overlap and allow you slip a pillow form into the case. I like doing seasonal pillows like this so I can easily change them out and more importantly, don't take a HUGE amount of storage space. Along the 16" side, on both pieces, turn, press 1/2 from edge and repeat for a hemmed edge.
 |
| Pinned and ready to sew. |
 |
| Doing the hem thing |
Stitch along the edge of the hem. I used thread to match the fabric. Make sure to repeat on both of the background pieces.
Start by pinning one half of the back onto the appliqued front. Then pin second half to the front. it will overlap in the middle about 2 1/2". This is the opening used to insert the pillow form. Make sure you have right side together. Ooops, first time I didn't and had to rip out a good 6 inches before I realized it.
When you are done stitching around the entire pillow clip the corners at a 45 degree angle. Don't clip the stitching.
 |
| Backside, center opening and zigzag finishing stitch |
|
Because I was using a loose weave, home decor fabric, I decided to stabilize the seam by zigzagging around the entire edge of the pillow. This will prevent the seams from pulling out with use. (I know it has hugs and kisses, but in a house with just boys it is likely to become a weapon at some point)
 |
| The finished pillow |
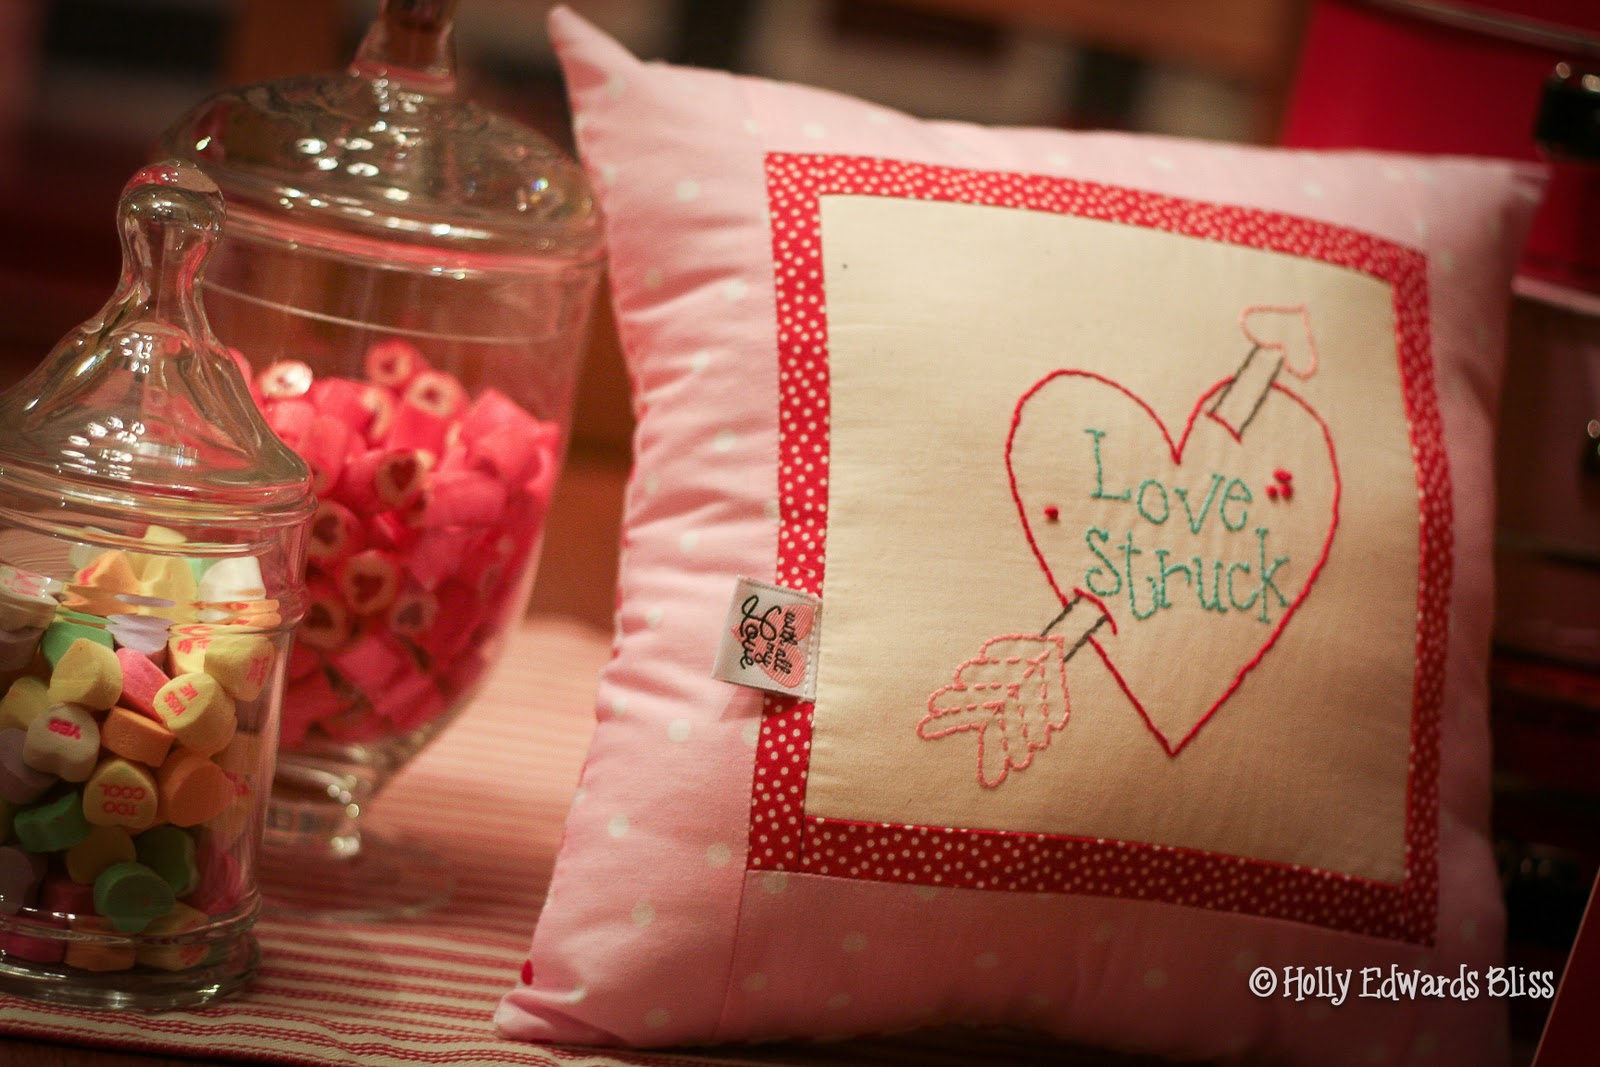
Hope you have fun creating your own Valentine pillow for someone you love!
Holly Bliss